Last Updated on
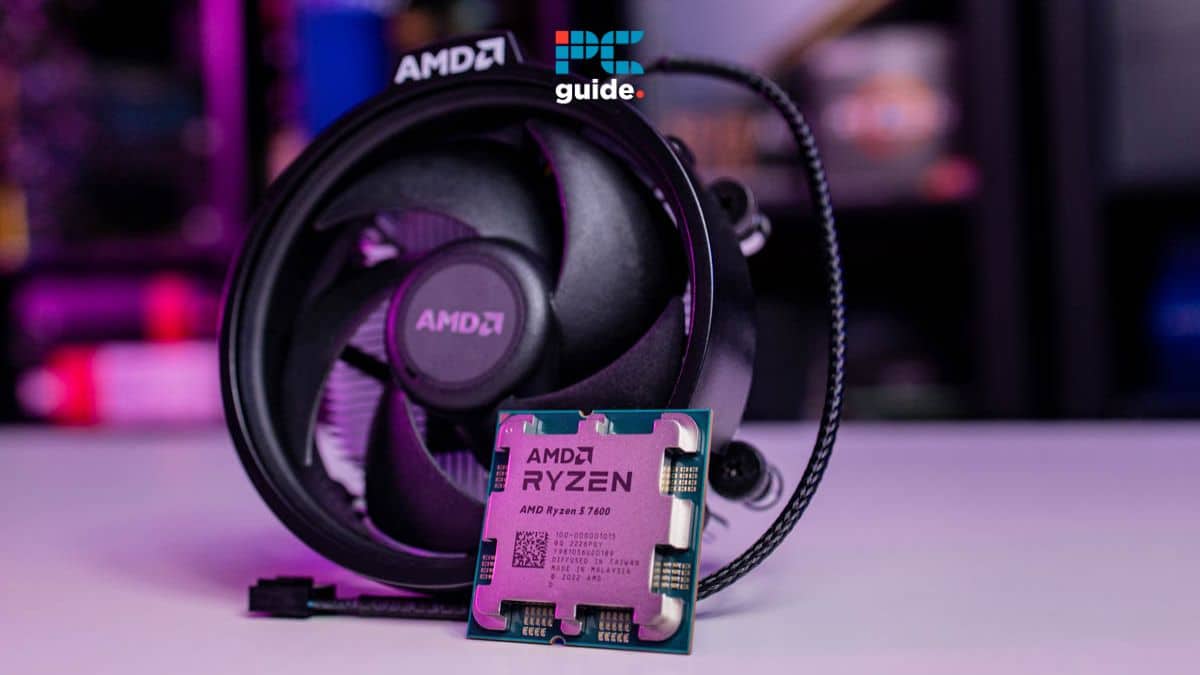
If you were looking for how to check your CPU, we’ve got everything you need to know.
Knowing which CPU you have is very useful, as it allows you to streamline your Google searches in case of crashes or error codes. That said, dismantling your setup just to look at your processor’s name is less than ideal, but there are easy workarounds.
In this guide, we’ve listed four easy-to-follow methods that will show you how to check your CPU without any tinkering with the hardware. So, let’s get right to it, shall we?
Quick Answer
You can quickly check your CPU by pressing “CRTL + SHIFT + ESC” or right-clicking the taskbar and selecting “Task Manager.” This should open the Task Manager and select the “Performance” tab from there. The CPU name and its other specifications should be listed there.
How to check what CPU you have in your PC
Here are a few methods that can help you quickly check which CPU you have as well as other specifications.
Method
Quick check from the start menu
Follow the steps below to find out what CPU you have.
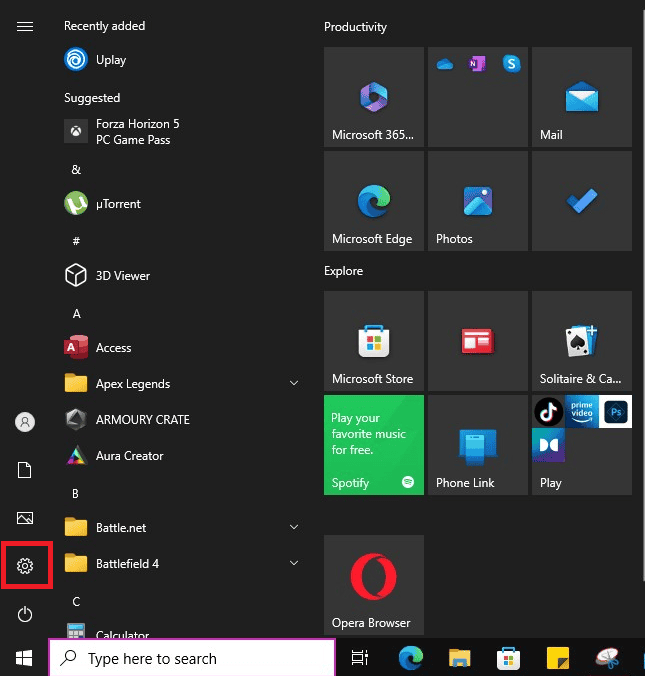
- Click on the start button on the taskbar and click on the gear icon.
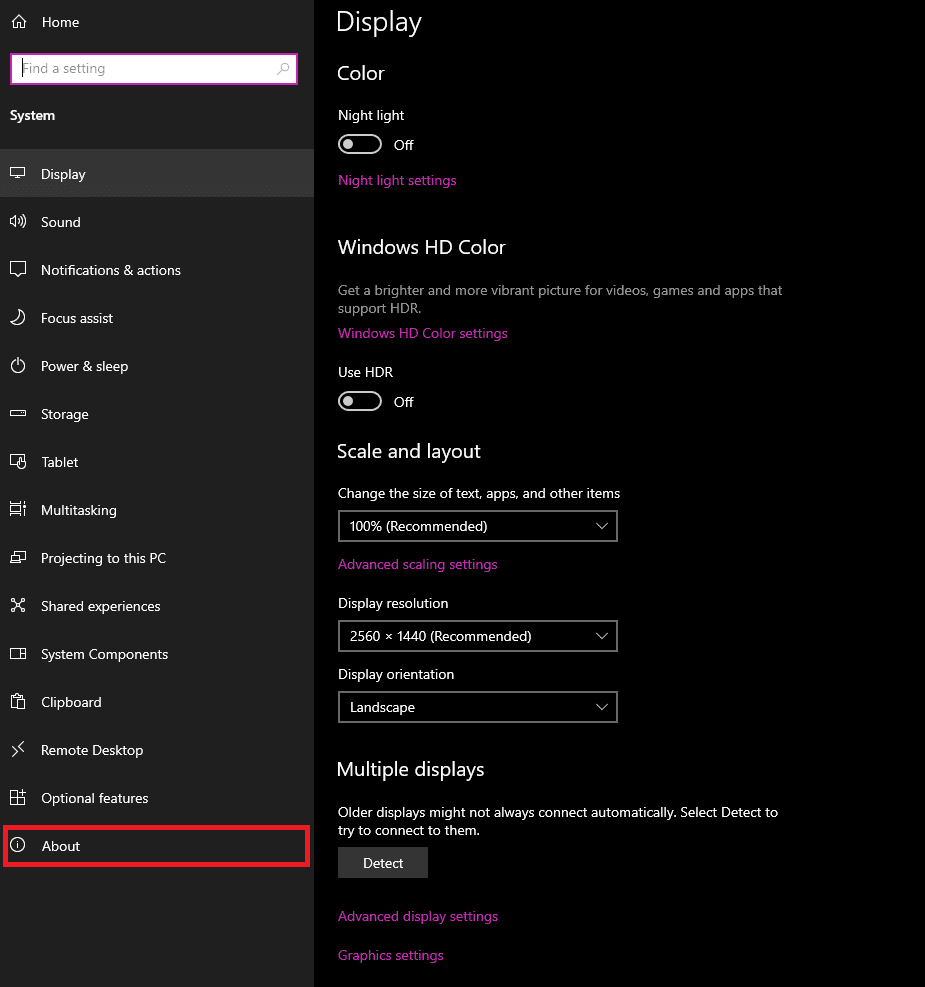
- Click on “System.”

- Navigate down to “About”
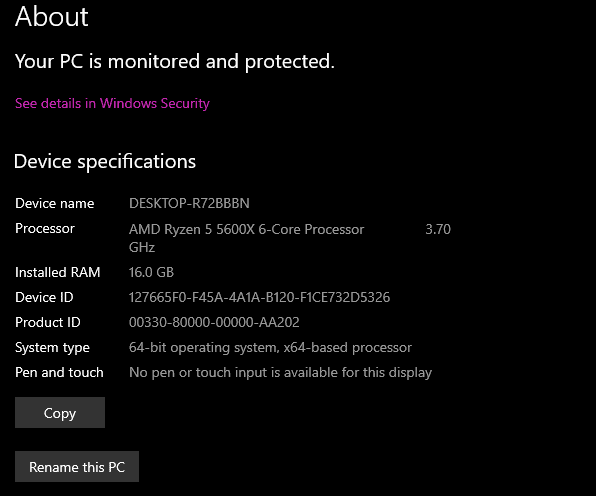
- This should show you the CPU installed, how much RAM you’ve got, and other useful information.
Method
Checking from the taskbar search
Another way to check your CPU and other system specifications in more depth is to use the taskbar search function. Here is how you can do it:
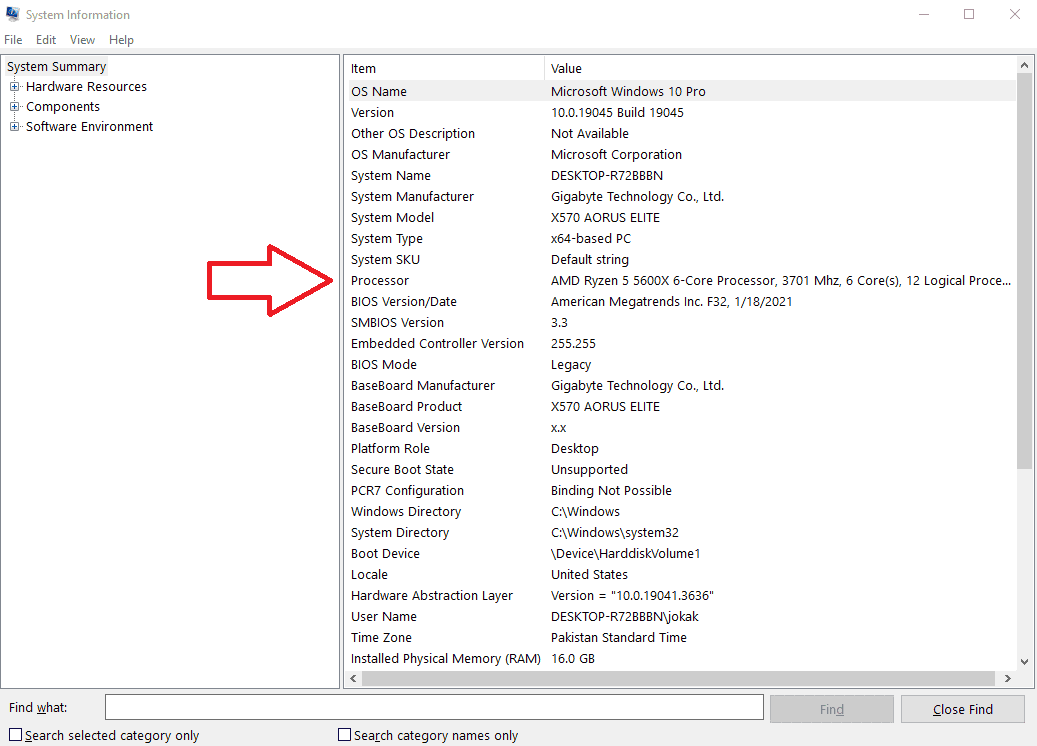
- Press “Windows Key + Q,” type “System Information,” and hit enter.
- A new window should open, listing different technical aspects of your system. Locate “Processor,” and in front of that will be the name of your CPU, its core, frequency, and other specifications.
Method
Using the task manager
It shouldn’t be surprising that you can view your system information from the task manager. It is fairly straightforward, and here is how you can do it.
- Right-click on the taskbar and select “Task Manager” or press “Windows Key + Q,” type “Task Manager,” and hit enter.
- Click on the “Performance” tab.
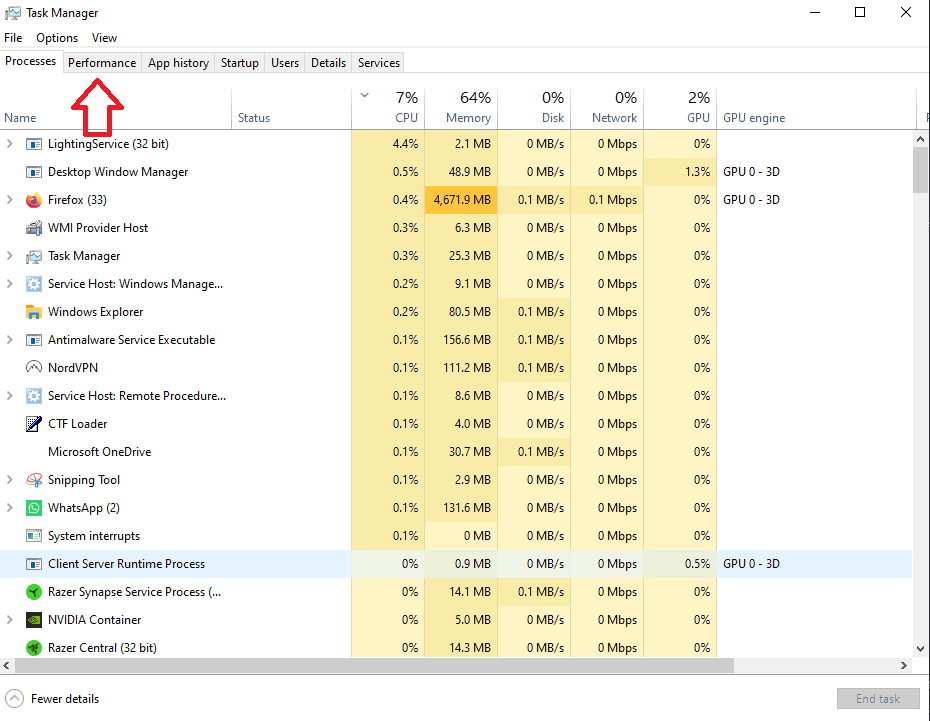
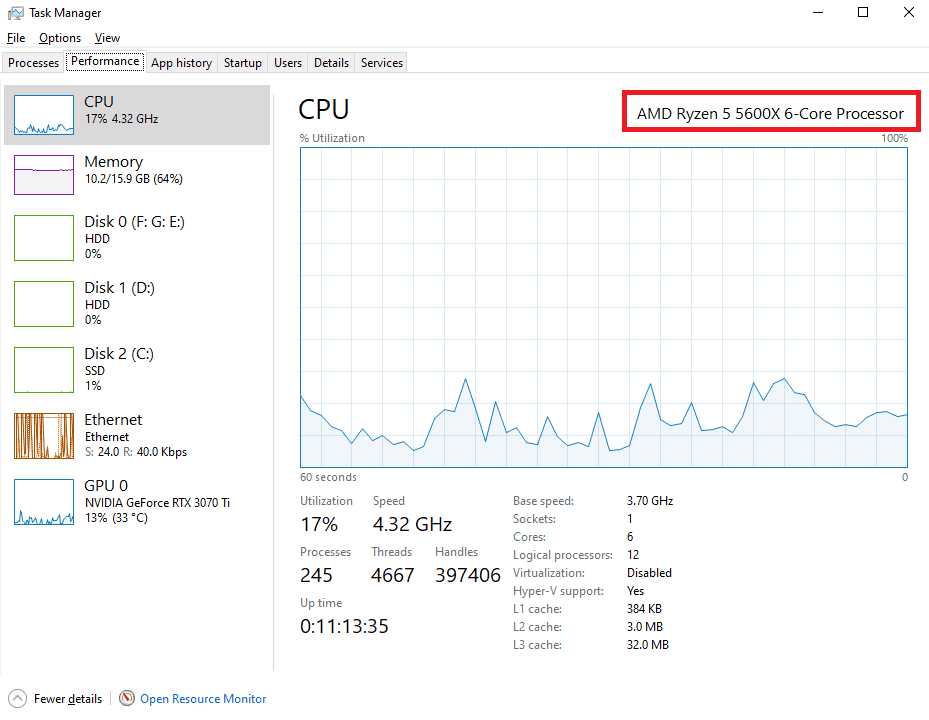
- Click on “CPU” on the left side.
- This should display the CPUs current frequency, utilization, and name in the top right corner above the graph.
Method
Using the file explorer
You can also use the file explorer to find out what CPU is installed in your setup.
- Click on the folder icon on the taskbar or the search bar, type “File Explorer,” and hit enter.

- This will open the file explorer.
- Now, right-click on “This PC” and navigate down to “Properties.”
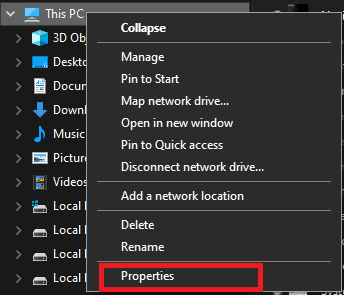
- This should open the “About” page mentioned in step one, where you can see the processor name.

Wrapping up
We’ve reached the end of our journey, and hopefully, now you know how to check what CPU you have using the easy methods listed in this guide. These methods not only show the name of your processor but also the number of cores, its base and current frequency, utilization, cache memory, and other useful information.
That said, if the reason for you looking for your CPU was subpar performance or other issues and replacing the thermal paste, reseating, or changing the cooling solution hasn’t worked, it might be time to switch it out with a new processor. If you’re interested in that, we recommend you check out these options.
And once you’ve sorted your CPU, be sure to check out some of our top picks for best thermal pastes, best CPU coolers, and the best airflow PC cases so you can get the absolute best performance out of it too.
-
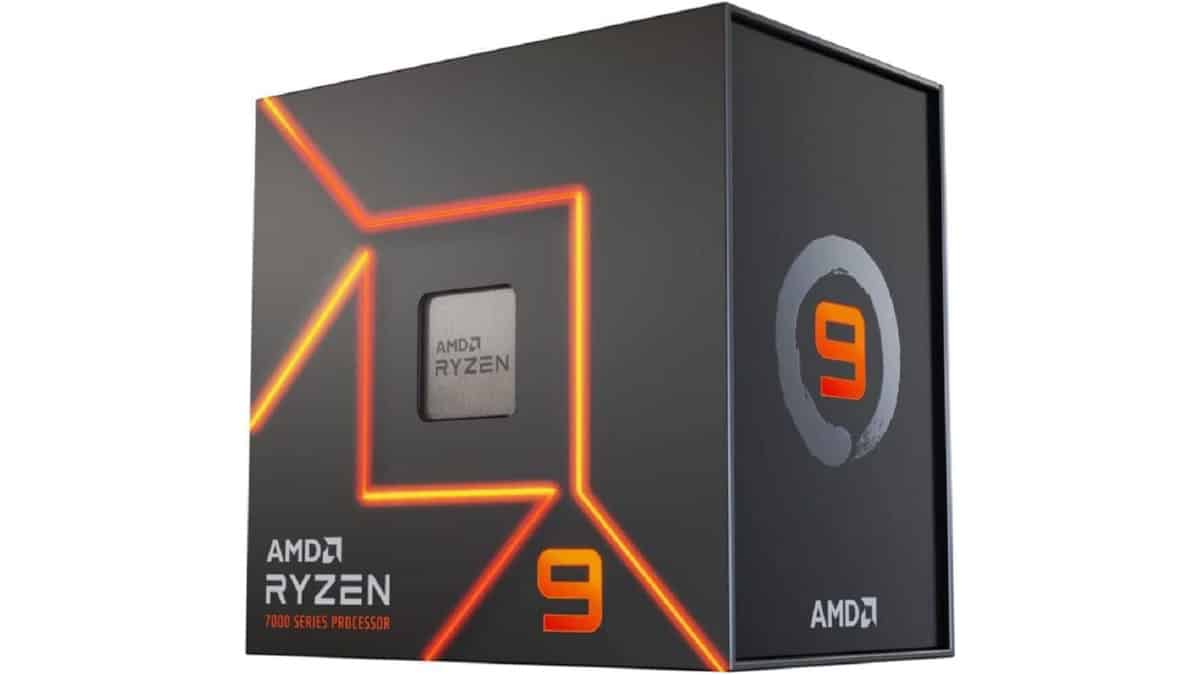
High-end CPU
AMD Ryzen 9 7950X
-
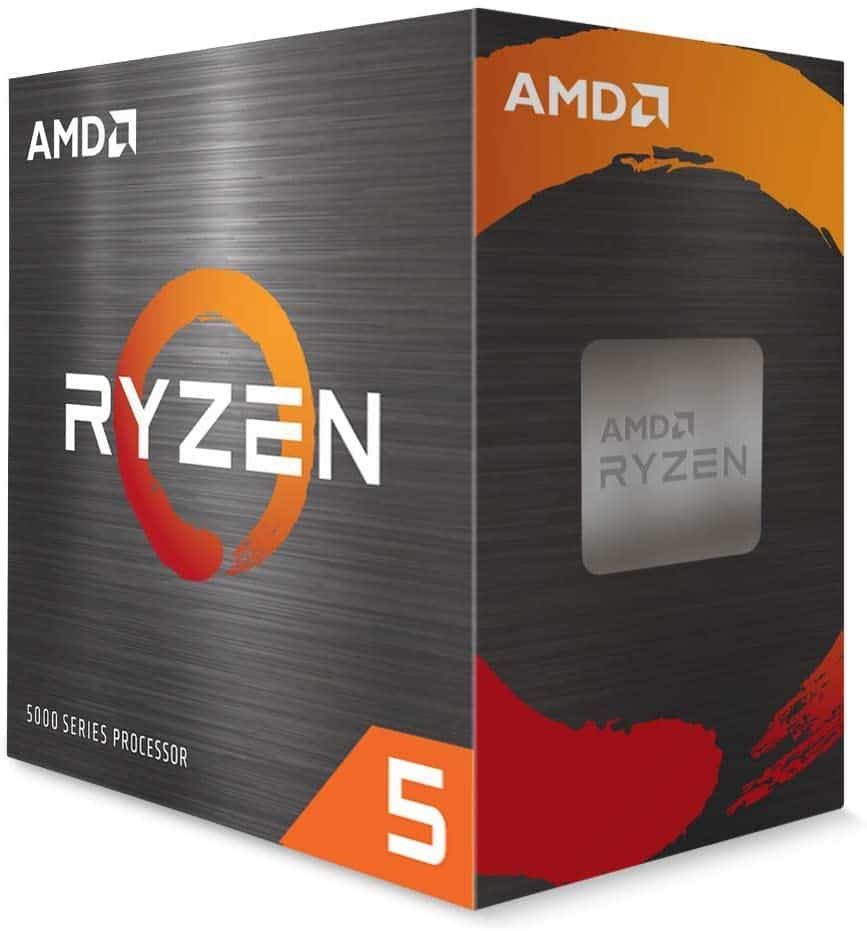
Mid-range CPU
AMD Ryzen 5 5600X
- Cores: 6
- Threads : 12
- Boost speed : up to 4.6 GHz
- Base speed: 3.7 GHz
- L3 Cache: 32 MB
- TDP: 65W
-
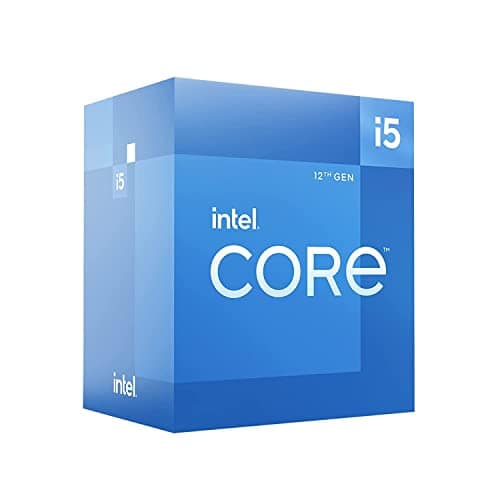
Budget CPU
Intel Core i5 Core 12400F

